How to Make Baby Puree: Complete Beginner’s Guide From Scratch
Learning how to make baby puree comes down to one simple routine: prepare the ingredients, cook until soft, blend, and portion safely. A saucepan, a blender and a few small containers are enough. This beginner’s guide covers readiness, equipment, cooking times for common foods, texture, allergens and safe storage. It is written for a baby who is developmentally ready for solid foods, usually around six months, and it includes two quick reference tables you can save for later. Start with small amounts, follow your baby’s cues, and keep breast milk or infant formula as their main drink throughout the first year.
For more first-food ideas, explore our 25 stage 1 baby purees.
Why You’ll Love Making Baby Puree at Home
Homemade puree is simpler than most first-time parents expect.
- You choose the ingredients: no added salt, sugar or sauces.
- One method works for many foods: carrot, sweet potato, peas, apple, pear and more.
- Small batches freeze well, so one session can cover several meals.
- You control the texture and can thicken it as your baby grows.
- It needs only everyday kitchen tools, with no special baby food maker.
Check That Your Baby Is Ready
Readiness matters more than a date on the calendar. Your baby should hold their head steady, sit upright with support, open their mouth for food, and swallow instead of consistently pushing food out. Ask your healthcare professional if you are uncertain, particularly if your baby was premature or has feeding difficulties.
Offer food when your baby is alert and comfortable. Seat them upright in a suitable high chair and supervise every mouthful. Never feed while they are reclining. Begin with a few small spoonfuls and stop when they close their mouth, turn away or lose interest. Finishing a bowl is never the goal.
Gather Simple Equipment
Use a saucepan with a steamer basket, a blender or food processor, a clean chopping board and a soft feeding spoon. A fork works for ripe banana and avocado. A sieve is optional for removing stubborn skins after blending.
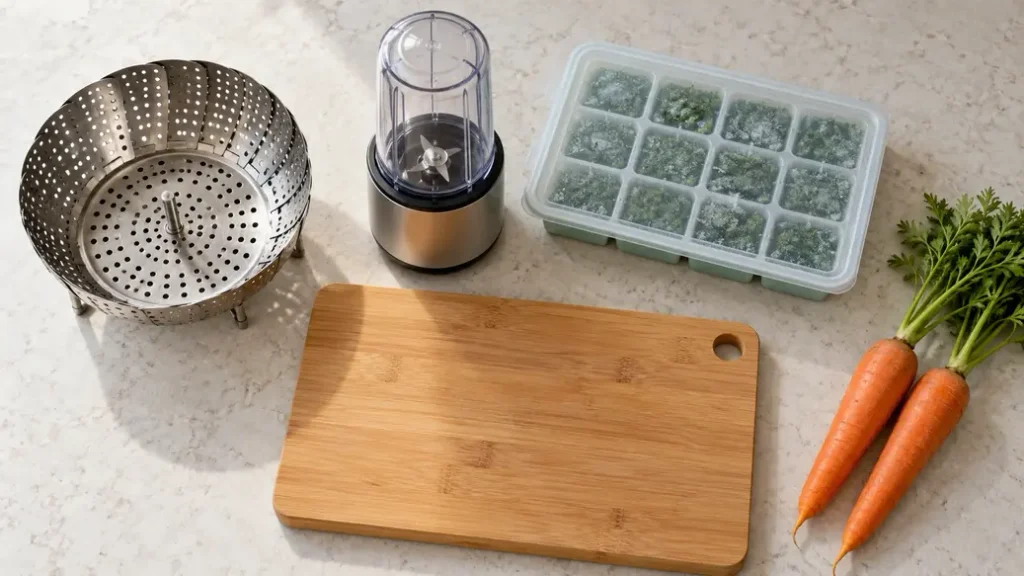
For storage, choose small food containers or a covered, food-safe freezer tray. Cube sizes vary, so check each compartment’s capacity. Wash your hands and clean equipment before starting, and keep equipment used for raw meat separate from produce. A clean bowl and fork may be easier than washing a blender for a tiny serving.
Choose and Prepare Your Ingredients
Fresh and plain frozen produce both work well. Choose ripe fruit, sound vegetables, and frozen products without sauces, added salt or added sugar. Follow package instructions, including any requirement to cook frozen fruit, because thawing alone is not always enough.
Wash fresh produce under running water, including fruit you intend to peel. Remove stones, cores, hard seeds, tough skins and damaged areas, and chop into similar pieces so they soften evenly. Useful first options include carrot, sweet potato, squash, broccoli, peas, apple and pear. Include iron-rich foods too, such as iron-fortified infant cereal, thoroughly cooked lentils, beans and suitably prepared meat. Fruit and vegetable puree alone does not provide a complete diet.
How to Make Baby Puree Step by Step
Step 1: Prepare the Ingredient
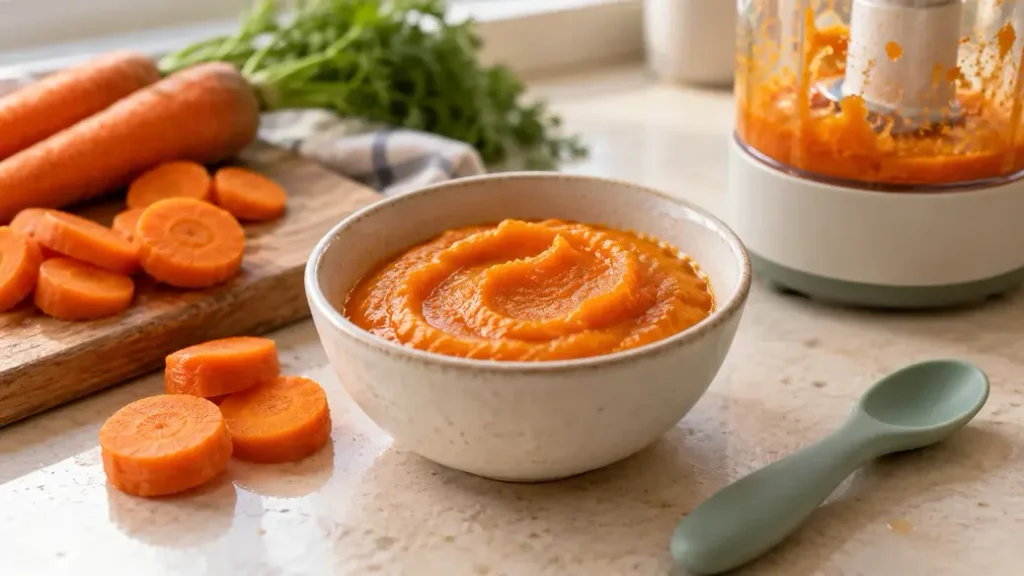
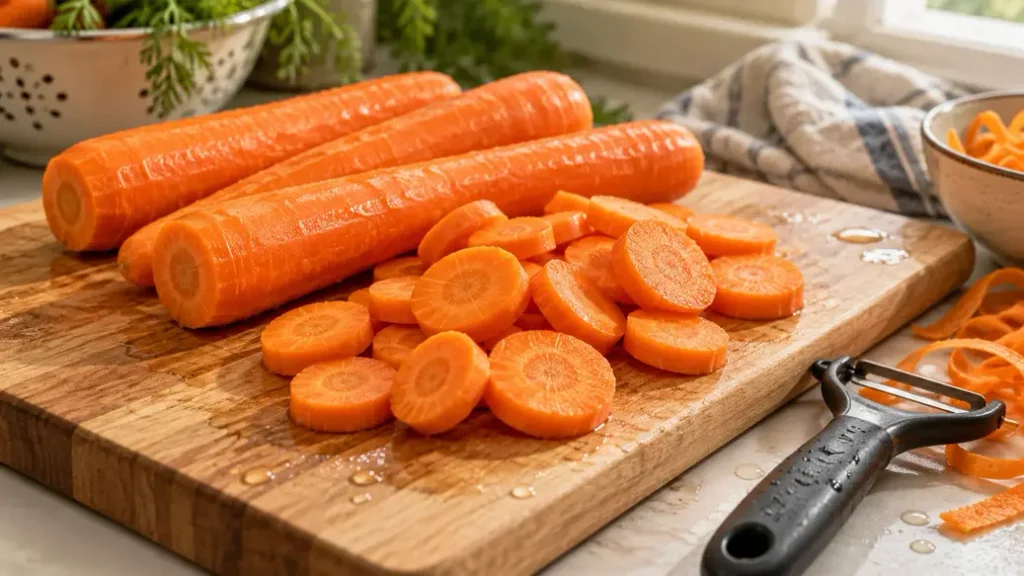
Prepare a small quantity of one ingredient. Peel a carrot and cut it into even slices. Starting small avoids filling your freezer with something your baby has not yet tried.
Step 2: Cook Until Soft
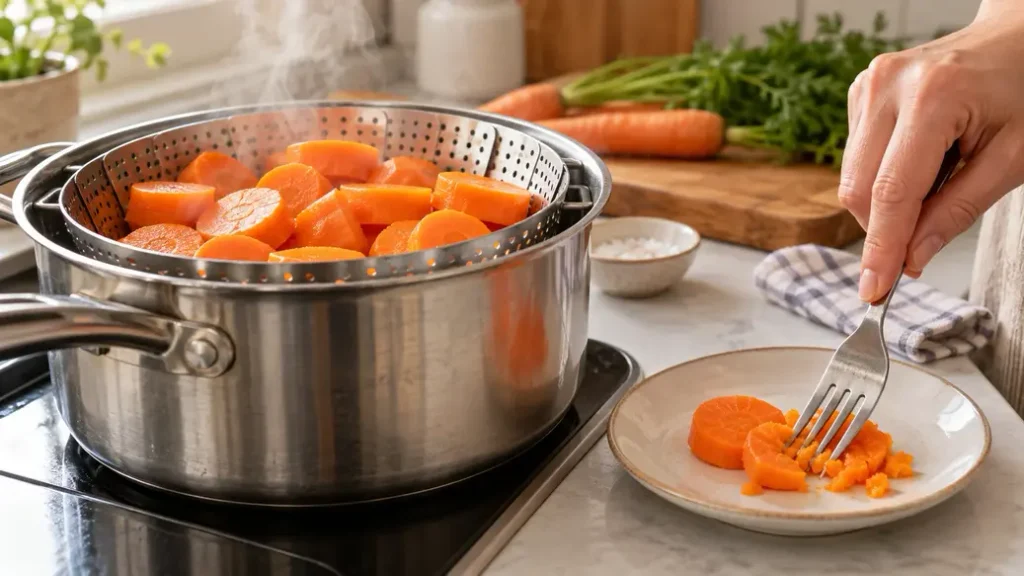
Steam or simmer until the food is easily crushed with a fork. Cooking time depends on the ingredient, size and equipment. Firm pieces need longer, and the texture test matters more than the timer.
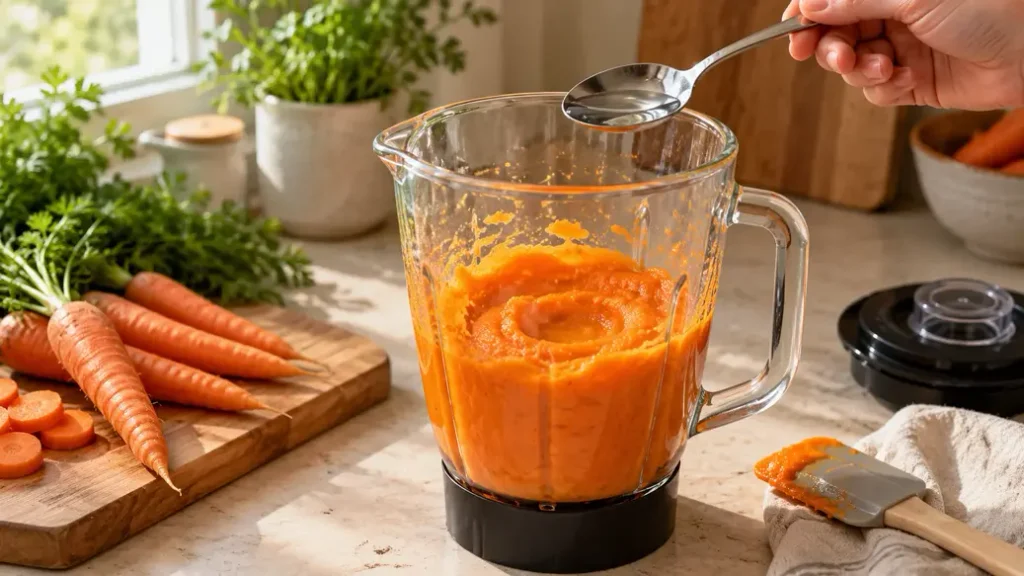
Step 3: Transfer to the Blender
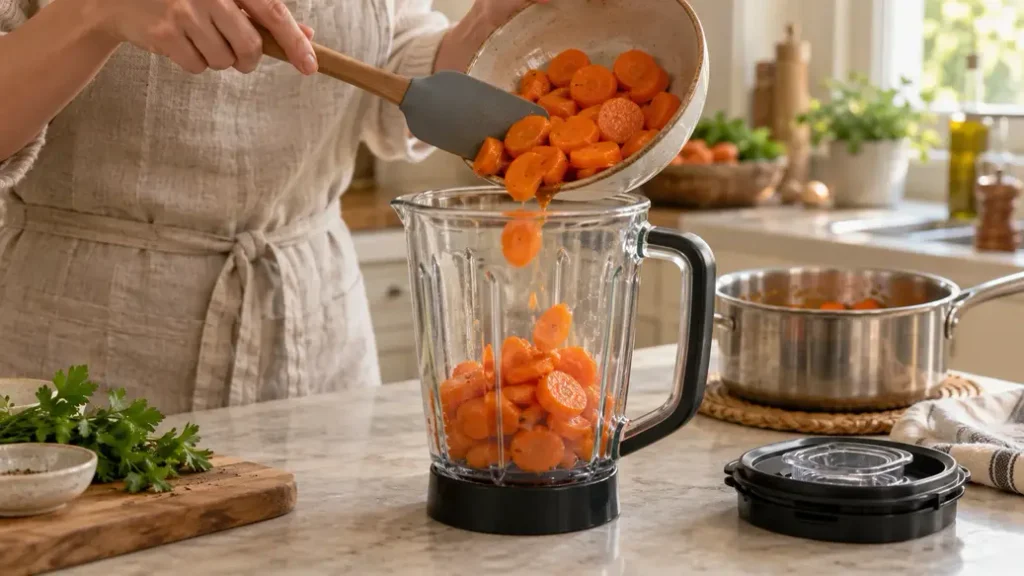
Transfer the softened food to your blender. Follow its instructions for hot ingredients, including venting and maximum fill levels. Never seal hot food inside a blender cup that is not designed for it.
Step 4: Blend and Adjust the Texture
Blend until the texture suits your baby. Add safe drinking water in small amounts if needed, scraping down the sides between pulses. Thin an individual serving with expressed breast milk or correctly prepared infant formula, and never add dry formula powder directly.
Step 5: Portion, Cool and Store
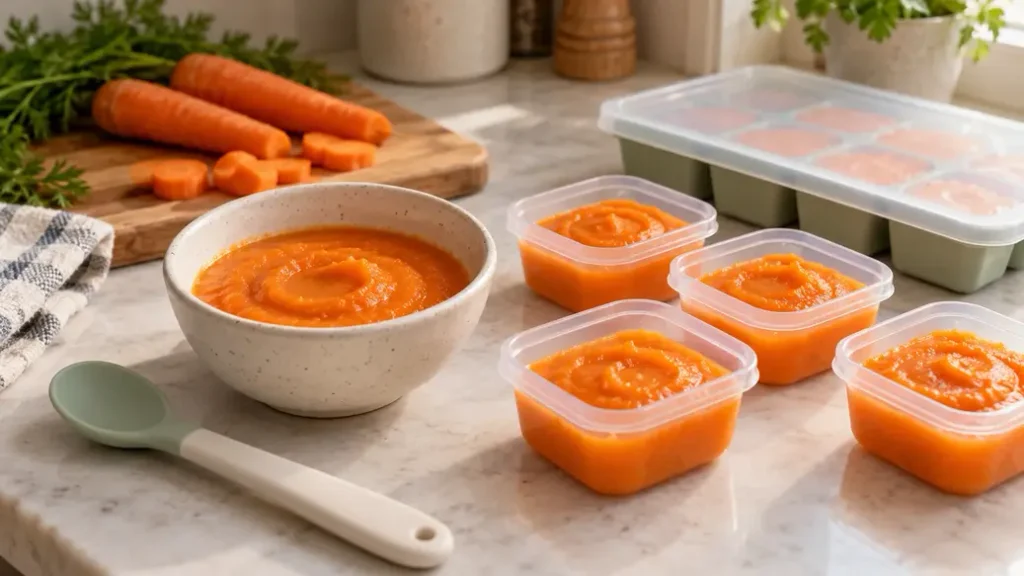
Check for firm pieces, spoon a small portion into a separate bowl, and let it reach a comfortable feeding temperature. Cool and store the remaining batch promptly. Keep milk additions for serving time to simplify batch storage.
Choose a Cooking Method
- Steaming: convenient for carrots, broccoli, peas, apples and pears. Place food above simmering water, cover, and cook until very soft.
- Roasting: works well for sweet potato and squash. Cook until the flesh is soft throughout, then remove skins and seeds. Check the center rather than relying on browned edges.
- Simmering: suits lentils and some vegetables. Use enough water to prevent drying out and follow the package, because lentil varieties differ.
- No cooking: ripe banana, avocado and some ripe fruit only need mashing after washing and removing inedible parts.
Do not add stock cubes or salty broth. When cooking several foods together, check that each one has softened, because a tender piece of squash does not mean the carrot beside it is ready.
How to make baby puree: cooking times by food (typical, not exact)
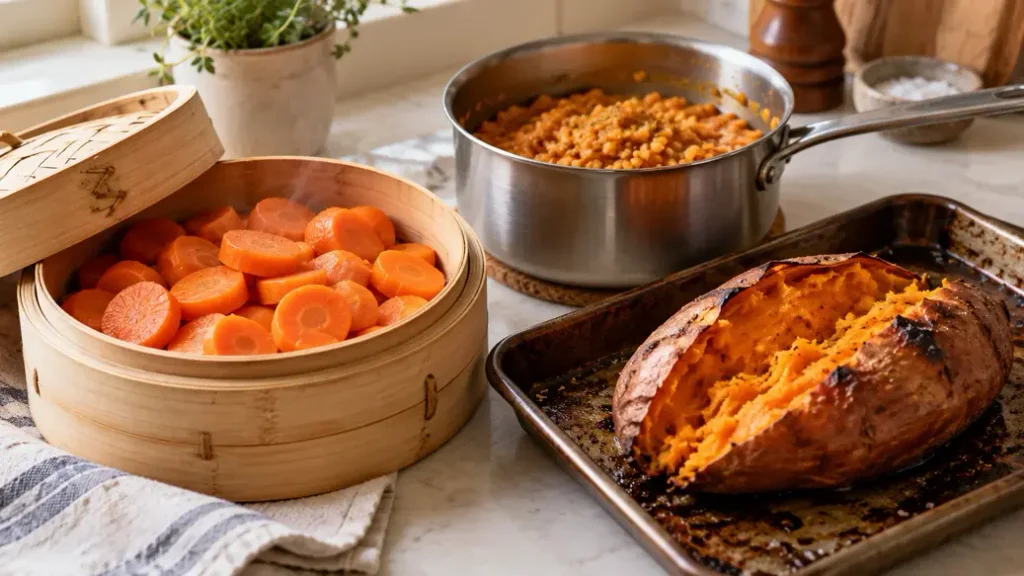
| Food | Method | Typical time | Doneness check |
| Carrot slices | Steam | About 10 to 15 minutes | Crushes easily with a fork |
| Frozen peas | Simmer or steam | About 4 to 5 minutes | Very soft; blend well or sieve |
| Broccoli florets | Steam | About 7 to 8 minutes | Stalk is very tender |
| Apple or pear pieces | Steam | About 8 to 10 minutes | Fork slides in with no resistance |
| Sweet potato, whole | Roast at 400°F (200°C) | About 45 to 60 minutes | Center is completely soft |
| Lentils | Simmer | Follow the package | Mashes easily |
Adjust Texture as Skills Develop
Aim for a soft texture your baby can manage, not an identical consistency for every food. Smooth puree is a fine starting option, but babies do not need to stay on completely smooth food until nine months. Move toward thicker mash, soft lumps and appropriately prepared finger foods as soon as your baby is ready. Seek professional advice if texture changes repeatedly cause difficulty.
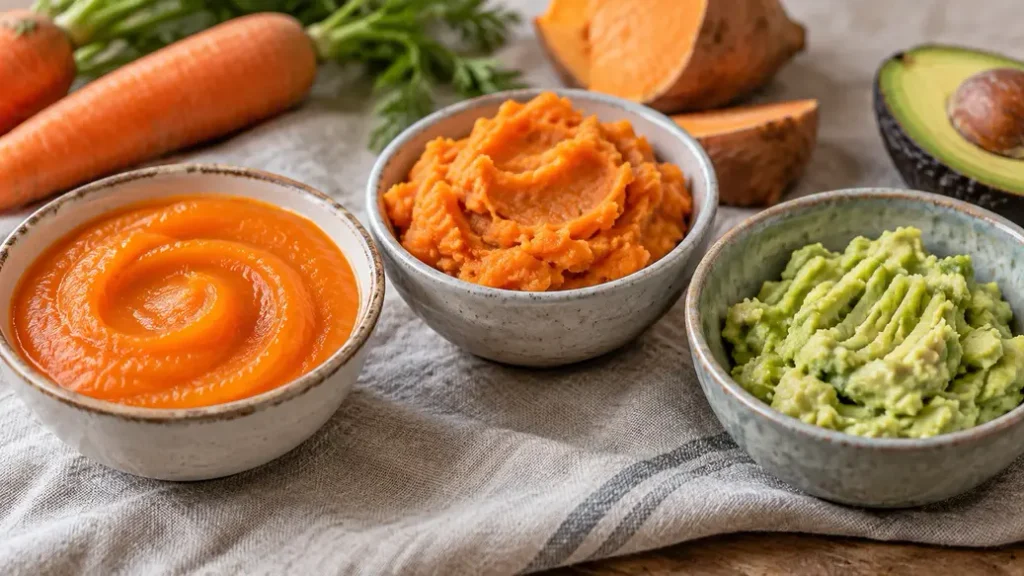
- Too thick: add a little water and mix again.
- Too watery: use less liquid next time, or combine it with a familiar thicker ingredient.
- Gluey potato: mash it by hand, because prolonged blending turns it gluey.
- Tough skins: remove them first rather than assuming every blender will break them down.
How to Serve Baby Puree
- Around 6 months: offer a few spoonfuls of smooth or thick puree on a soft spoon, and let your baby open their mouth first.
- Around 9 months: thicken and mash with a fork for soft lumps, and add appropriately prepared soft finger foods.
- 12 months and beyond: move toward chopped, soft family foods, using puree as a dip or mix-in.
Spoon-feeding and baby-led weaning can work together. Offer soft, cooked foods in finger-sized pieces.
Try our banana puree for baby for a simple recipe that needs no cooking.
Introduce Variety and Allergens Carefully
Introduce new foods individually at first, so you can identify possible reactions. Guidance on spacing differs: CDC advice recommends waiting three to five days between new single-ingredient foods initially. Follow your healthcare professional’s advice for your baby rather than treating one schedule as universal.
Potential allergens include egg, milk products, peanut, tree nuts, wheat, soy, sesame, fish and shellfish. Offer them in small amounts and safe textures once your baby is ready, and keep including them regularly if they are tolerated. Never offer whole nuts or a thick spoonful of nut butter, and mix smooth nut butter into a familiar food until it is loose. Ask your clinician about peanut introduction if your baby has severe eczema or an egg allergy.
Stop the suspected food and seek medical advice for a possible reaction. Breathing difficulty, throat or tongue swelling, or collapse needs emergency help. Cow’s milk can be used in foods, but it should not replace breast milk or formula as the main drink before twelve months.
Store, Freeze and Reheat Safely
Divide cooked puree into shallow containers so it cools quickly, and refrigerate or freeze it promptly, ideally within one to two hours. Do not leave a large pan on the counter waiting to cool.
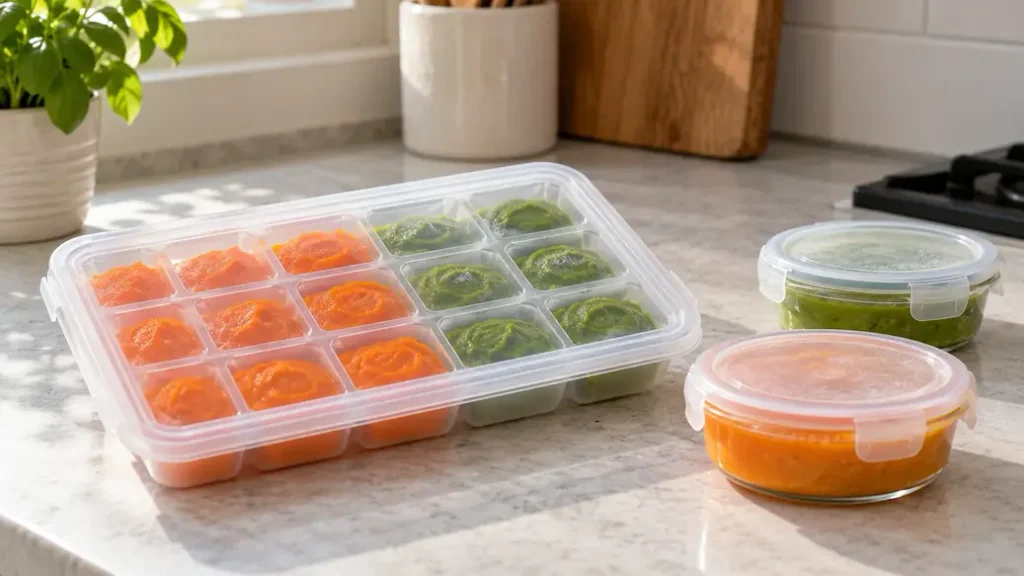
- Refrigerate: keep at 4°C (40°F) or below and use within one to two days. As a conservative household limit, use meat or egg puree within 24 hours.
- Freeze: freeze plain puree in small portions, then move solid portions to a sealed freezer bag. Use within three months for quality.
- Thaw: in the refrigerator, never on the counter, and use within 24 hours.
- Reheat: heat previously cooked food until steaming hot, then let it cool before serving. Stir to disperse hot spots, and reheat only once.
- Never refreeze thawed puree, and discard anything left in your baby’s feeding bowl, because saliva can contaminate leftovers.
How to make baby puree safely: storage times at a glance
| Stage | Guidance used here | Note |
| Cooling | Within 1 to 2 hours | Use shallow containers |
| Refrigerator | 1 to 2 days | FDA and NHS; many blogs say 3 to 5 days |
| Meat or egg puree | Within 24 hours | Conservative household limit |
| Freezer | Up to 3 months | FDA; some sources say 1 month or 4 to 6 months |
| After thawing | Within 24 hours | Thaw in the refrigerator only |
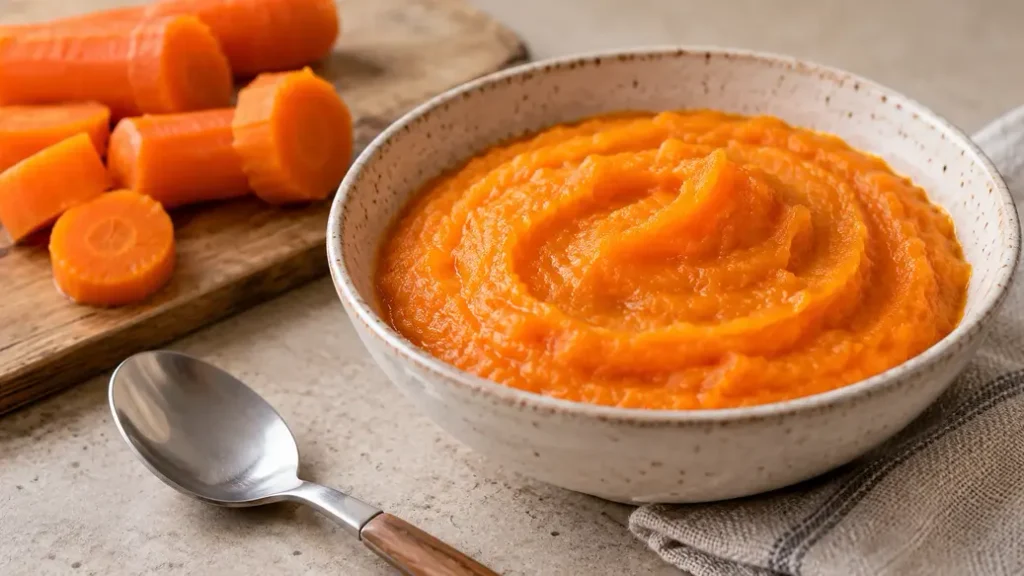
Basic Carrot Puree Recipe
This simple example makes a small batch.
Prep time: 10 minutes
Cook time: 10 to 15 minutes
Total time: 20 to 25 minutes
Yield: About 3/4 cup. This is an estimate, not a tested yield; measure your finished puree.
Ingredients: 2 medium carrots; safe drinking water as needed.
Method: Wash and peel the carrots, trim the ends, and slice evenly. Steam over simmering water until each slice crushes easily with a fork. Transfer to a suitable blender and blend, adding water a little at a time. Check that no firm pieces remain.
Notes: One tablespoon is about 15 milliliters. Portion size is a storage convenience, not an amount your baby must eat. Add breast milk or prepared formula only to the serving you intend to use.
Easy Combinations and Batch Planning
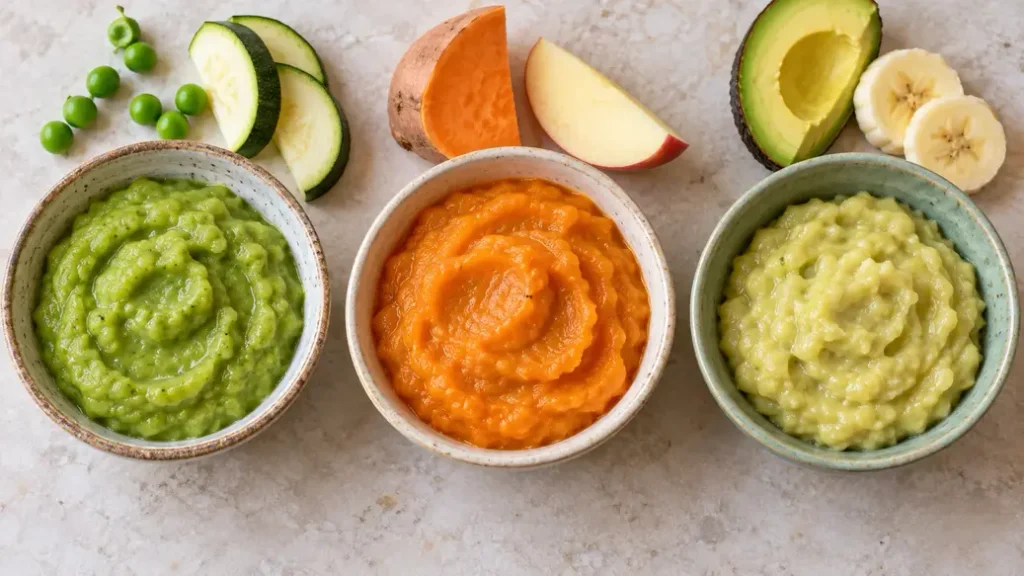
Once ingredients are familiar and tolerated, combine sweet potato with apple, peas with zucchini, or avocado with banana. Lentil and carrot adds variety beyond fruit-only blends. For a batch session, choose two or three ingredients and prepare each separately. Start the longest-cooking food first, then blend each batch with clean equipment. Freeze in measured portions, record what each contains, and rotate foods across the week instead of relying on one favorite. Keep a simple freezer list on your phone so older portions are used first, and bring out only what you expect to serve. Avoid honey before twelve months add no salt or sugar, and keep firm raw chunks, whole grapes and whole nuts out of baby meals.
Recipe Success Tips
- Start with one food: a small first batch avoids waste.
- Cook longer than you expect: softness matters more than the timer.
- Save a little cooking water: it thins puree without diluting flavor.
- Freeze in small portions: one tablespoon per compartment makes thawing easy.
- Keep a freezer list: note what each batch contains so older portions go first.
- Offer, then stop: respond to your baby’s cues instead of aiming for a clean bowl.
Common Mistakes to Avoid
- Undercooking: firm pieces blend poorly and are unsafe for a new eater, so cook until very soft.
- Sealing a hot blender cup: follow the blender’s instructions for hot food.
- Adding salt, sugar or honey: babies do not need them, and honey is never safe before age one.
- Leaving puree out to cool: refrigerate or freeze within one to two hours.
- Reusing a feeding spoon in the storage container: portion first, and feed from a separate bowl.
Conclusion
Knowing how to make baby puree is a repeatable routine: prepare clean ingredients, soften them thoroughly, adjust the texture and store small portions safely. Begin with one food, keep iron-rich options in the rotation, and build variety as your baby develops.
Use our baby food weekly meal plan for 6–9 months to organise your batches into a varied weekly routine.
Disclaimer
This guide on how to make baby puree provides general information, not personalized medical advice. Consult your healthcare professional about readiness, allergy risk or feeding difficulties.
FAQ’s
Q.1 Do I need a special baby food maker?
No. A regular blender, food processor or fork can work, depending on the ingredient and texture. Choose equipment that safely handles the amount and temperature you are using.
Q.2 Can I use frozen vegetables?
Yes. Choose plain products, follow the cooking instructions, and cook until soft enough to mash easily. Avoid salty sauces or seasoning mixes.
Q.3 Does puree need to be warm?
No. Suitable food can be served cool if your baby accepts it. Previously cooked food that you choose to reheat should be heated thoroughly, then cooled before feeding.
Q.4 How much should I offer first?
Start with a small amount and respond to hunger and fullness cues. Offer more if wanted, without pressure, and continue usual milk feeds.
Q.5 What if my baby refuses a flavor?
Try again another day without forcing it. Offer variety and allow time to become familiar with tastes and textures. Persistent feeding concerns deserve advice from your healthcare professional.